BRAT安装与使用
使用环境:centos7
安装
官方文档:
Installation - brat rapid annotation tool
下载brat
直接下载或手动上传到/export/softwares文件夹
1 | mkdir -p /export/softwares |
官网有点问题,下载的安装包损坏。建议直接通过其他镜像下载手动上传。
安装apache
使用独立运行模式则不用安装apache
https://blog.csdn.net/qq_15111861/article/details/83009341
https://www.cnblogs.com/yoke/p/7236293.html?utm_source=itdadao&utm_medium=referral
安装
1 | yum install httpd |
启动
1 | systemctl start httpd |
设置开机启动
1 | systemctl enable httpd |
安装brat
https://zhuanlan.zhihu.com/p/65101293
使用apache运行
解压
1 | tar -zxvf /export/softwares/brat-v1.3_Crunchy_Frog.tar.gz -C /var/www/html/ |
第一次运行前先执行安装脚本
1 | cd /var/www/html/brat/ |
输出
1 | Please the user name that you want to use when logging into brat |
独立运行
创建文件夹并解压安装包
1 | mkdir -p /export/servers/ |
进入brat根目录,初次运行执行install.sh进行初始化配置
1 | cd /exprot/servers/brat/ |
使用独立运行模式启动
python要使用2.7版本的
1 | python standalone.py |
在后台运行
1 | [root@localhost brat-v1.3_Crunchy_Frog]# nohup python standalone.py & |
此时会提示后台进程的进程号,以及输出信息都追加在nohup.out文件中
查询是否有该进程
1 | [root@localhost brat-v1.3_Crunchy_Frog]# ps -aux | grep standalone |
终止进程
1 | kill -9 4068 |
如果权限不够可能需要sudo
1 | sudo kill -9 4068 |
配置
添加实体
修改brat/annotation.conf来添加自己的实体、关系、事件以及字段属性
1 | vim /exprot/servers/brat/annotation.conf |
具体格式参见配置文件中的注释
1 | [entities] |
添加用户
1 | $ cd /exprot/servers/brat/ |
使用
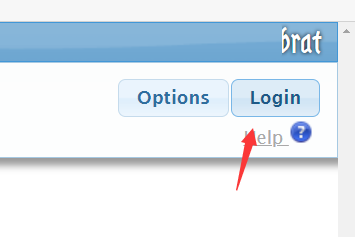
登陆
需要登陆以后才能打标,登陆前只能查看
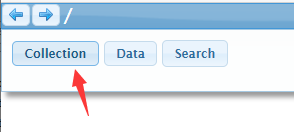
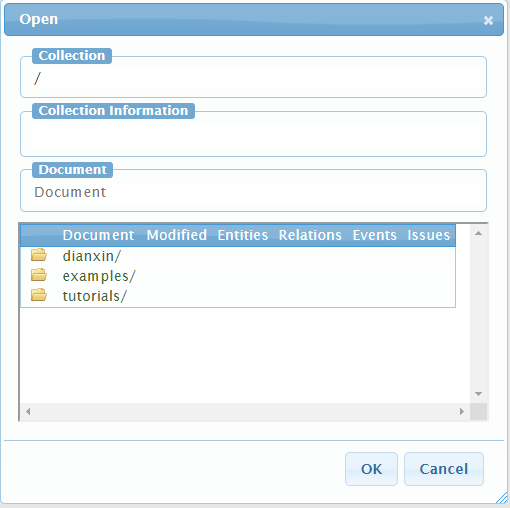
打开浏览文件
快捷键TAB
导入、导出数据
注意,数据文件夹路径和文件名都不得带有中文字符!
手动操作
数据的导入导出可直接在命令行中对系统文件进行操作。
将源文件放在brat/data目录下。
导入源文件以后还要手动创建对应的空的.ann文件
如:
1 | brat |
批量导出
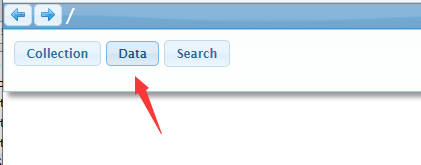
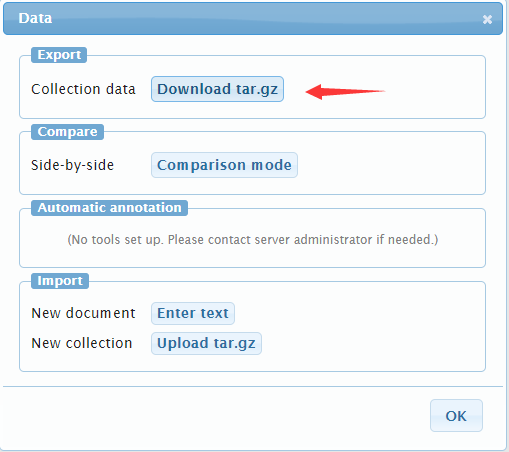
使用该方法会将data目录下的所有数据打包导出
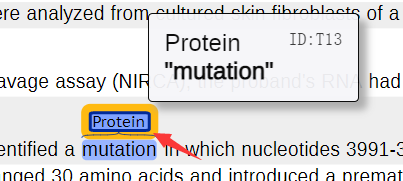
添加标记
直接使用鼠标勾画要打标的文本片段
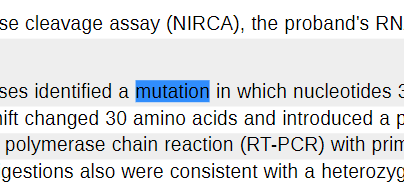
弹出窗口中选择对应的实体类型
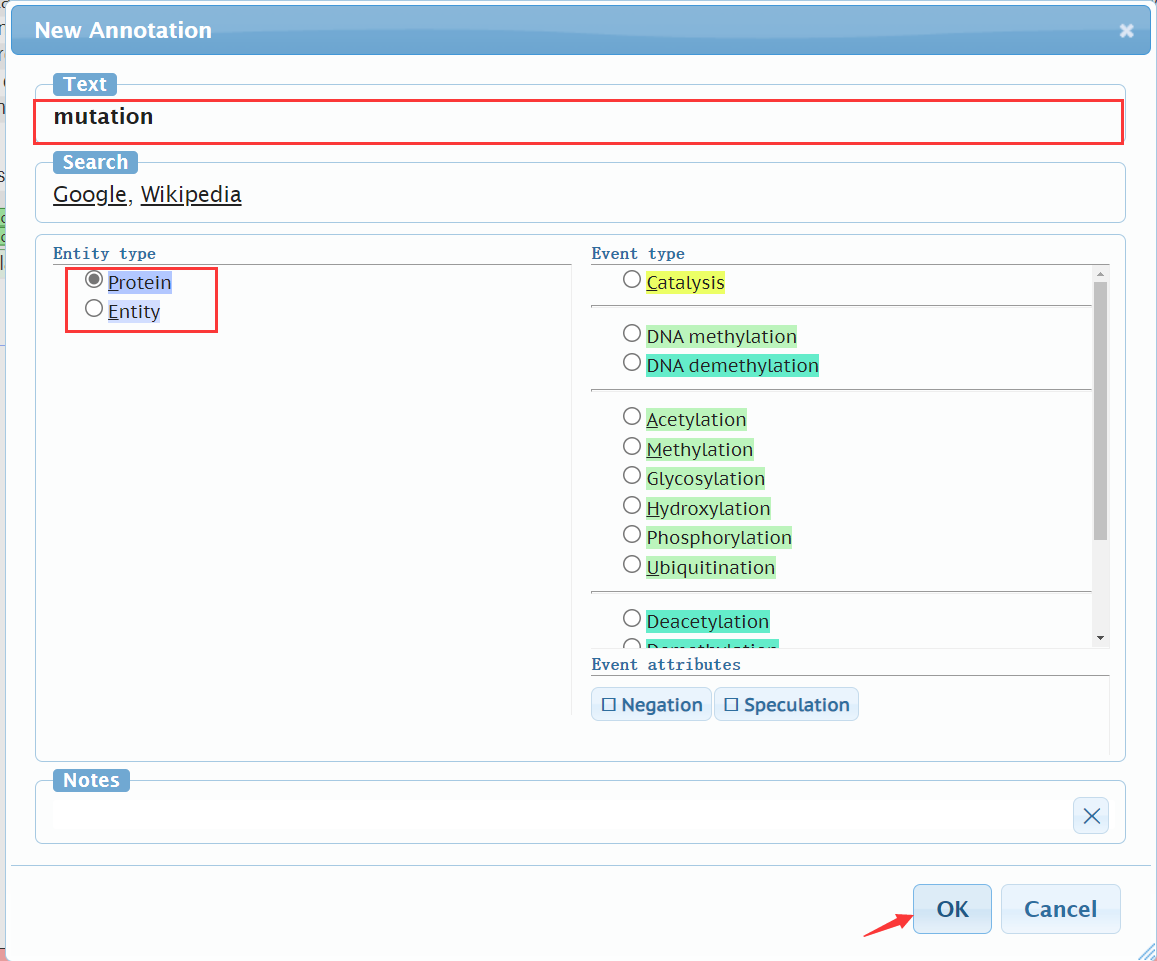
确认保存
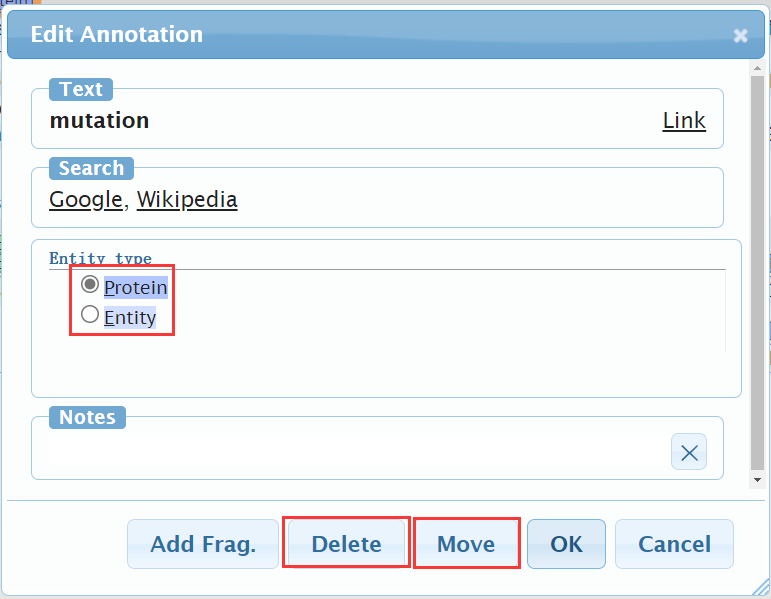
修改标记
双击标签
在弹出窗口中进行标签的更改、删除、移动